Deploy the Cloudflare Enforcer for Shopify applications
You can use the HUMAN Cloudflare Enforcer to protect your Shopify applications. This integration uses an Origin-to-Origin (O2O) model where Cloudflare acts as a secure proxy between the end-user and your Shopify origin server. The process involves configuring your domain, deploying the HUMAN Worker, and routing traffic through the Cloudflare proxy. You can learn more about activating O2O routing so the Enforcer can work with your Shopify store with this article.
Prerequisites
- An active Shopify store with a known
.myshopify.comaddress. - An active Cloudflare account that manages your application’s domain.
1. Configure DNS for your Shopify store
First, you need to configure Cloudflare to handle requests for your Shopify store’s domain.
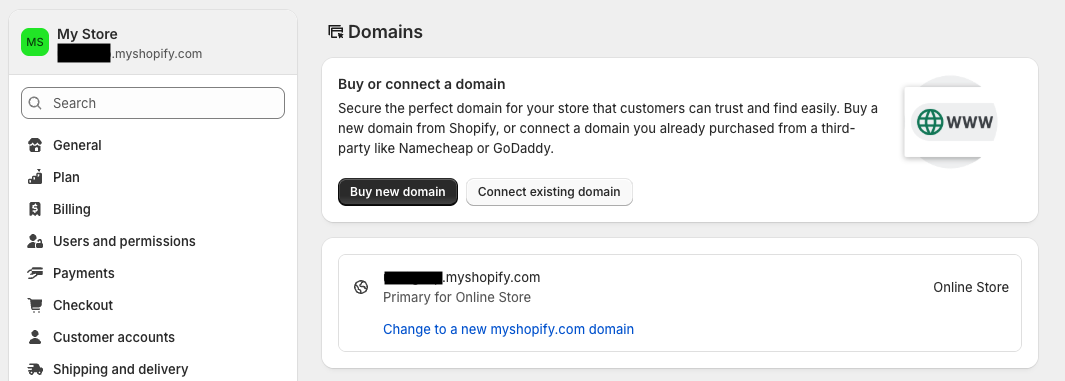
1. Define your custom domain in Shopify
- In Shopify admin, navigate to Settings > Domains.
- Click Connect existing domain, enter the domain you will use, such as
example.shop.com. - Click Next. Shopify will provide a target value, typically
shops.myshopify.com, that you will use in Create the CNAME record in Cloudflare.
2. Create the CNAME record in Cloudflare
- In your Cloudflare dashboard, select your domain and navigate to DNS > Records.
- Click Add record and configure it as follows:
- Type: CNAME
- Name: The subdomain for your shop.
- Target: The value provided by Shopify, such as
shops.myshopify.com. - Proxy status: Ensure this is toggled on as Proxied
 .
.
- Click Save.
We recommend you also create a CNAME record for the www version of your subdomain, such as www.shop, that points to the same target.

3. Verify the domain in Shopify
- Return to your Shopify Domains settings and click Verify connection.
- Confirm that the status updates to Connected. This may take a few minutes.
2. Deploy the HUMAN Cloudflare Enforcer
With the DNS configured, you can now deploy the HUMAN Cloudflare Worker that will act as the Enforcer. For complete instructions, see Install the Cloudflare Enforcer.
Once you complete those steps, your integration is complete. The HUMAN Enforcer will now actively analyze all traffic to your Shopify store, and you can monitor activity and mitigation events in the HUMAN console.