Create Account Defender policy rules
You can create Account Defender policy rules from the Policy Rules page. Policy rules let you dictate specific logic and conditions to fully control how Account Defender handles account takeover or fake account attacks on your application. You can also configure actions in a Policy Rule, which are measures Account Defender takes after it detects an attack that matches your rule’s conditions. These include adding the attack to the dashboard, sending notifications to your team, or sending mitigating emails to your users.
You can learn how to create policy rules in this article.
Prerequisites
- To create or make changes to policy rules, you need at least an Admin role.
- Certain actions need additional setup to work with Policy Rules. See Account Defender actions for more information.
Create custom policy rules
To make a new rule:
- Navigate to Account Defender > Policies > Policy Rules.
- Select Create new rule.
- Choose the type of rule you’d like to create. You can create a rule for a single or network attack for Account Takeover or Fake Account attack types.
- Enter a Name and Description for your rule, then select Next. This opens a new Rule structure panel with a Conditions and Actions menu.
- Select the Conditions menu. Then, click and drag the first condition you want to use into the IF > THIS() field.
- Complete the logic for that condition by selecting an operator, such as in, is, exists, or does not exist, and a value.
- If you want to add nested conditions to work with the one you just created, then repeat Steps 5 and 6 for each condition. Be sure to also specify the operator, either AND or OR, on how the conditions will work together as well. Note that the chosen operator persists within the nested condition. In other words, you can’t have a second nested condition use OR and a third one use AND.
- If you want to add an entirely new condition, select the + icon at the top of the section or drag a new condition towards the bottom of the section.
- Specify how this condition will work with your first condition with either the AND or OR operators. Note that the chosen operator persists through the rule. In other words, you can’t have a second condition use OR and a third one use AND.
- Repeat Steps 5-7 for the new condition.
- Repeat Steps 8-10 for any additional conditions you want to include.
- After you’ve made all the conditions you need, select the Actions menu. Then, click and drag the action you want to take into the THEN > THIS field. You can have multiple actions per rule.
- Select Before Saving - Simulate rule and specify a rule priority. See About rule priorities for more information on how they’re applied.
- Select Simulate rule. The simulation tests your rule using seven days of past Account Defender data.
- Review the simulation data to make sure your new rule is behaving as you expected. See About rule comparison to learn more about this view.
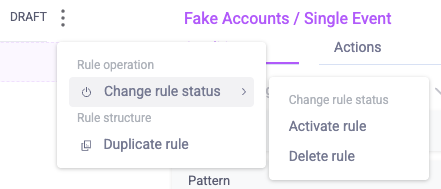
- Close the rule comparison and select how you’d like to save your rule. By default, it saves as a draft, but you can choose to activate it as soon as you save it as well.
- Select Save changes.
You have created your new rule. Depending on how you chose to save it, it will appear in either your Active or Draft tabs.
About Rule Comparison
The Rule Comparison view appears when you simulate a policy rule. Account Defender takes the new policy rule changes you’ve created and applies them to up to seven days of data from your application. This way, you can make sure the rule behaves the way that you expect and adjust your rule as needed.
Rule matches over time
The Rule Matches Over TIme graph displays the Activities or Accounts from the previous seven days that match your policy rule’s conditions. If you’re updating an existing rule, it also compares the updated rule to the current one. This is useful for understanding the volume of activities or accounts that the rule will affect.

Rule’s comparable identifiers
The Rule’s comparable identifiers show the top 10 most prevalent identifiers for activity or accounts from the previous seven days that match your policy rule. If you’re updating an existing rule, it also compares the updated rule’s identifiers to the current rule’s. This is useful for understanding the characteristics of activities or accounts your rule will affect.
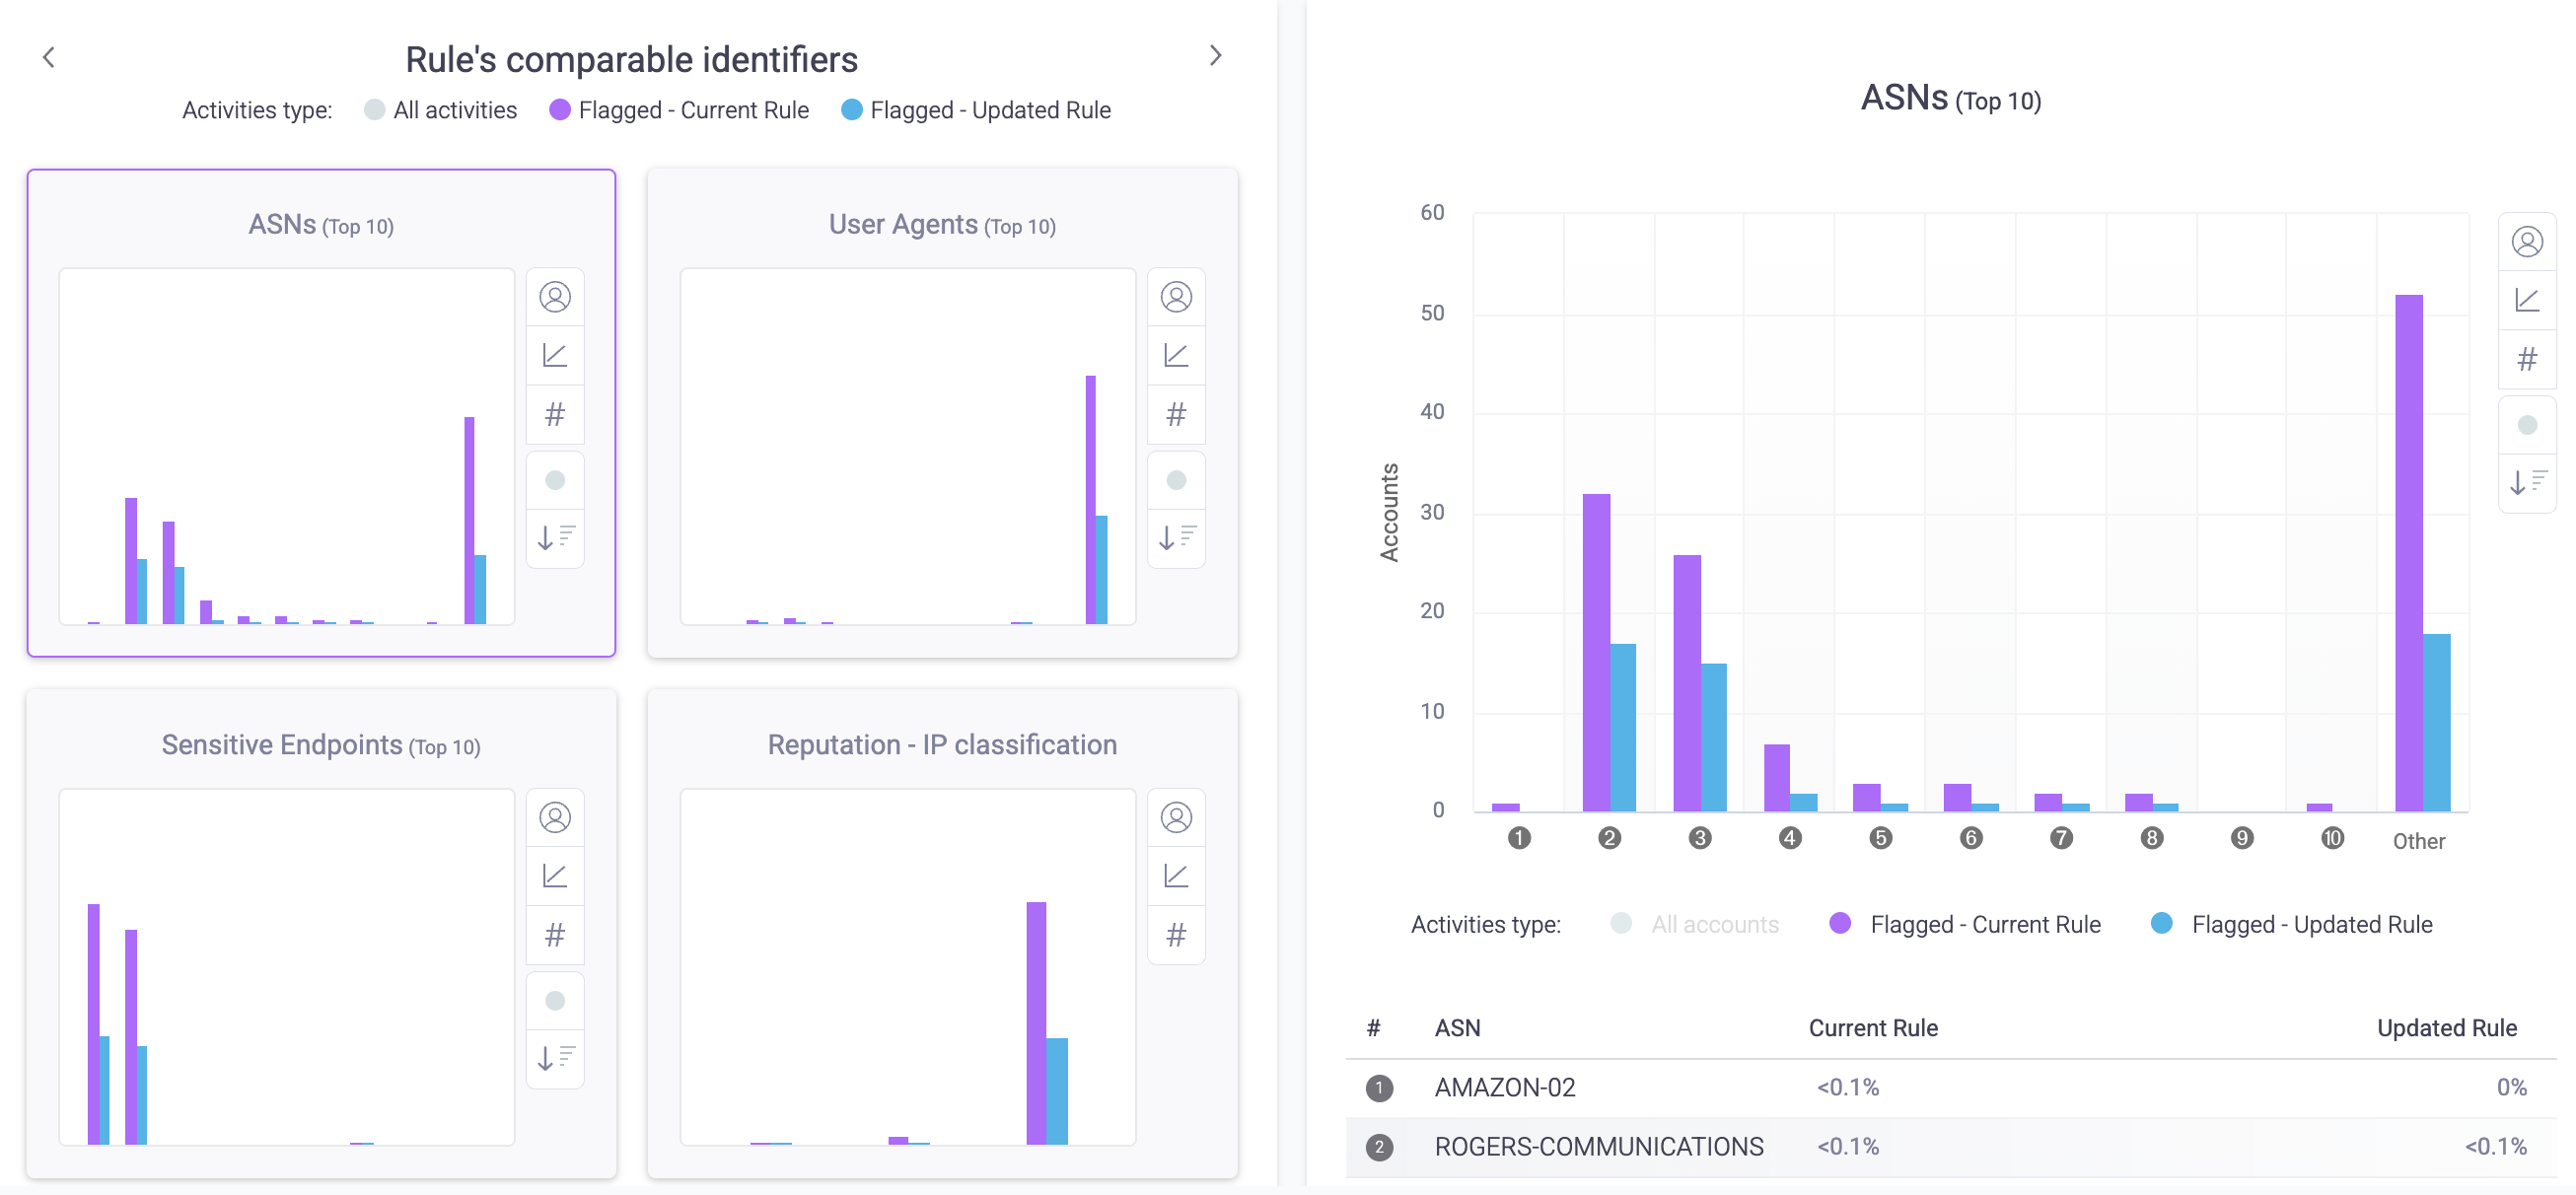
The available identifiers are:
- ASNs: The most prevalent autonomous system numbers (ASNs) that activity or accounts originated from.
- User Agents: The most prevalent user agents that activity or accounts had.
- Sensitive Endpoints: The most prevalent sensitive endpoints that activity was active on.
- Reputation - IP Classification: The most prevalent IP classifications that activity or accounts originated from.
- Active Days: The length of time accounts were active for.
- **Age Distribution:**The length of time since the accounts were created.
- **Countries:**The most prevalent regions that activity or accounts originated from. Regions are indicated by country ISO codes.
Example rule
Below is a sample rule and an explanation of its logic. You can reference this if you’re having trouble understanding how policy rule logic works.

This shows an example account takeover policy rule. In this rule, there are two sets of nested conditions and three actions to take. This rule’s logic dictates that:
- If the account takeover is on an account withdrawal path AND comes from the IP address 1.1.1.1, AND
- If the account takeover has a risk score over 90 OR the account’s age is at least a day old,
- THEN Account Defender will Add the account to the ATO Dashboard AND Send a Slack notification AND Disable that account.
The actions are straightforward: if an account takeover matches the listed conditions, then according to this rule, Account Defender will take the actions listed above.
The conditions logic can be more complicated. Let’s start with the first set of conditions:
- The path condition tells Account Defender to look for account takeovers that are on the listed paths. In this case, that is the Account Withdrawal path.
- The IP address condition tells Account Defender to look for account takeovers that are from the listed IPs. In this case, 1.1.1.1.
- The AND between the two conditions means that, for this first set, Account Defender will apply the chosen actions if detected account takeovers match both of the conditions.
To sum it up: the first set of nested conditions tells Account Defender to take action if the account takeover is detected exactly on the Account Withdrawal path and if the takeover’s IP address is exactly 1.1.1.1. In other words, takeovers on the account withdrawal path but with an IP of 2.2.2.2 won’t have action taken on them, and neither will takeovers on a different path like account payments but with an IP of 1.1.1.1.
Next, let’s look at the second set of conditions:
- The Risk score condition tells Account Defender to look for account takeover attempts where the risk score is at least 90.
- The Account age condition tells Account Defender to look for account takeover attempts on accounts that are at least one day old.
- The OR between the two conditions means that, for this second set, Account Defender will take the specified actions if it detects an account takeover that matches at least one of these conditions.
To sum it up: the second set of nested conditions tells Account Defender to take action if it finds an account takeover attempt where the risk score is at least 90 or if the attempt is on an account that is at least one day old. For example, Account Defender will take action on account takeover attempts that have a 95 risk score even if the account is only one hour old. Similarly, it will take action if the risk score is 55, but the takeover attempt was on an account that is 30 days old.
To put all the logic together, we need to consider the operator AND() between the two nested conditions. This AND() means that Account Defender will take action on the account takeover attempt if it matches both of the nested conditions.